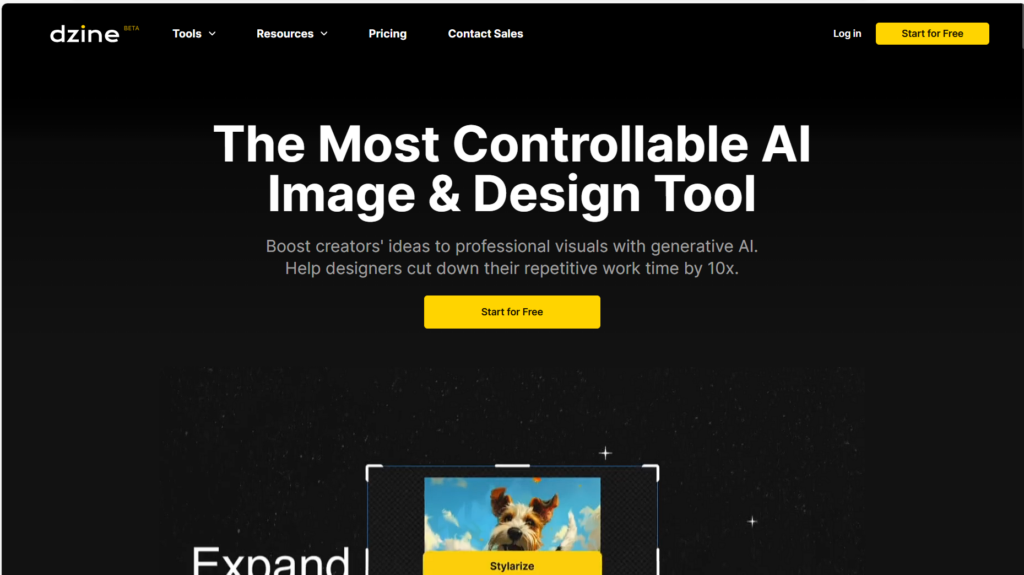
Are you eager to effortlessly enhance your product images by changing backgrounds? Look no further – introducing Dzine, your ultimate AI graphic design tool for seamless background transformations. In this blog, we’ll guide you through the process of using Dzine to revamp your product images.
Step 1: Accessing Dzine

Start your journey by heading to Google and searching for ‘Dzine.’ Click on the link for Dzine, and once there, hit the “Sign Up” button to register and log in using your Google account.
Step 2: Navigating the Workspace

Upon logging in, find yourself in the Dzine workspace. Click on ‘New Project’ to initiate your design process.
Step 3: Setting up Your Canvas

At the top of the screen, choose your desired canvas size. Click ‘Import Images,’ select the pictures you need, and resize them to fit the canvas.
Step 4: Image Editing with Dzine

Now, it’s time to use Dzine‘s powerful features. Utilize the ‘Auto-select’ tool at the top to isolate your main subject and close the duplicated layer. Click on ‘Image-to-Image,’ choose the style you want, and click ‘Auto Prompt’ for automatic prompts. Finally, hit ‘Generate.’
Step 5: Final Touches

Choose your favorite result from the stylized images, click ‘Place on Canvas,’ and move the subject layer to the top.
Step 6: Exporting Your Design

If you’re satisfied with the overall look, click ‘Export’ in the top right corner. You can choose the image size or export all layers, providing flexibility for different needs.
Conclusion: Dzine for Everyone
Dzine is a game-changer for photographers, marketers, and anyone looking to create stunning product images or advertisements. Revolutionize your visual content effortlessly with Dzine – where simplicity meets creativity!