- Tools
- Resources
- Pricing
- API
- Contact Sales
- Book a Demo


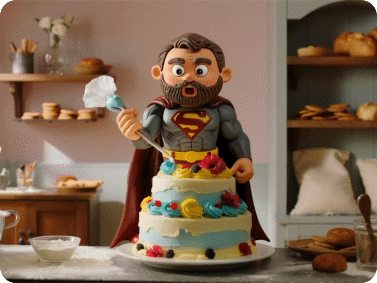
Censor Bar Generator Online Free
Effortlessly add professional-looking censor bars, censorship overlays, or blurred sensitive content to any image with Dzine AI’s Censor Bar Generator. Our free tool lets you create custom censor images in seconds — no design experience, software downloads, or technical skills required. Protect privacy, add comedic effect, or comply with content guidelines 100% free online!
Click or drag here to upload images
Try Dzine's Censor Bar Generator with your images today!
Effortlessly Protect Privacy & Add Creative Censorship
Dzine AI’s Censor Bar Generator is your all-in-one solution for adding custom censor bars, censorship overlays, or blurred regions to any image. Whether you’re protecting sensitive information in a screenshot, adding a funny censored bar to a meme, or complying with platform content rules, our tool delivers precise, professional results in seconds.
Unlike clunky photo editors, our AI-powered censor bar tool lets you target specific areas, customize bar color/opacity, and generate polished censor images — all from your browser, no skills required.
How to Add Censor Bars to Images with Dzine AI?
Step 1: Enter Image Editor and Upload Your Image
Navigate to Dzine AI’s Image Editor and upload the image you want to add censor bars to — supports photos, screenshots, memes, and more.
Step 2: Select Target Area & Input Your Requirements
Use our intuitive selector to highlight the region you want to censor, then type your prompt (e.g., "add black censor bar", "blur face with red censorship bar") to customize the look.
Step 3: Generate Your Censor Bar Image
Click the "Generate" button and Dzine AI will apply your custom censor bar or censorship overlay instantly. Download the final image in high resolution for immediate use.
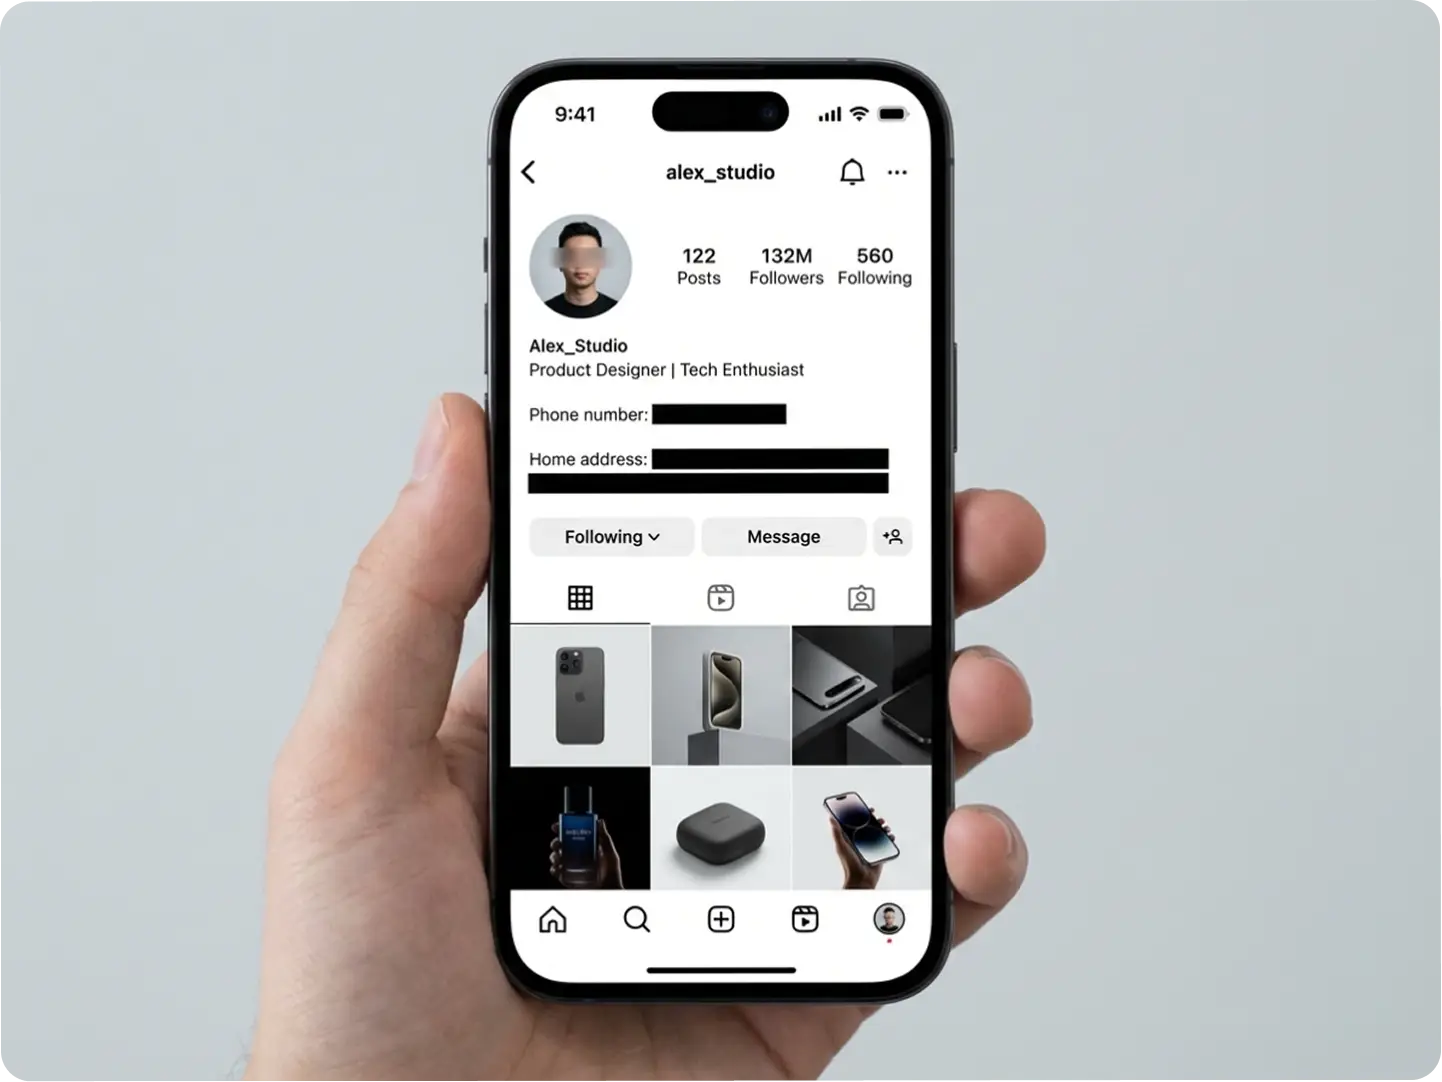
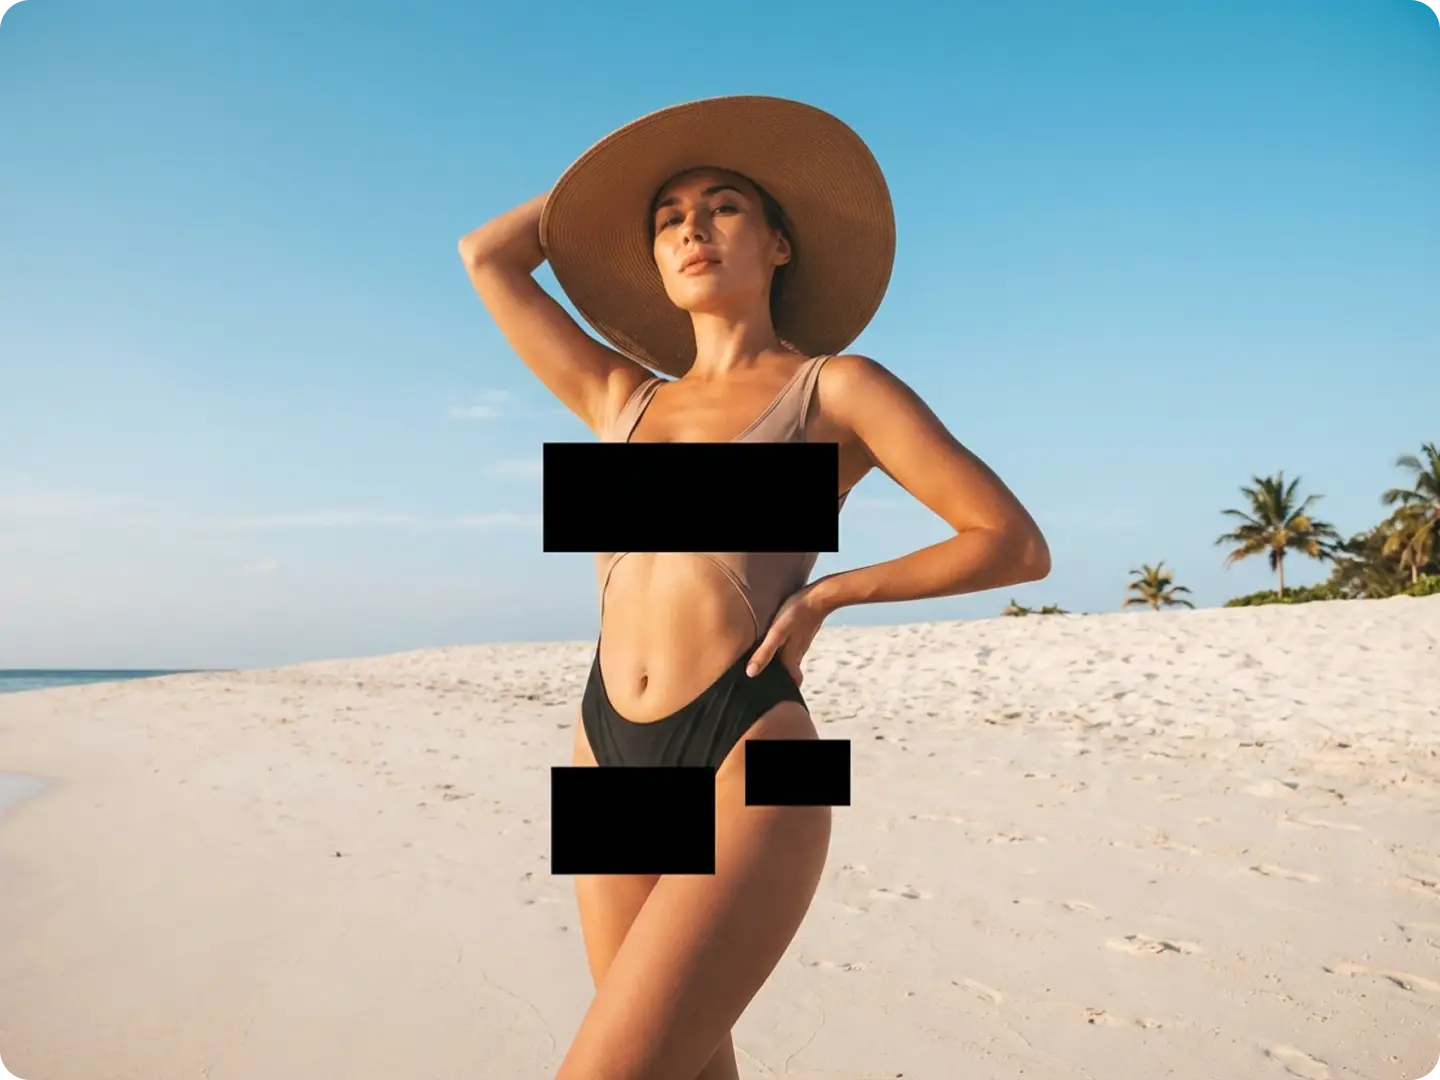
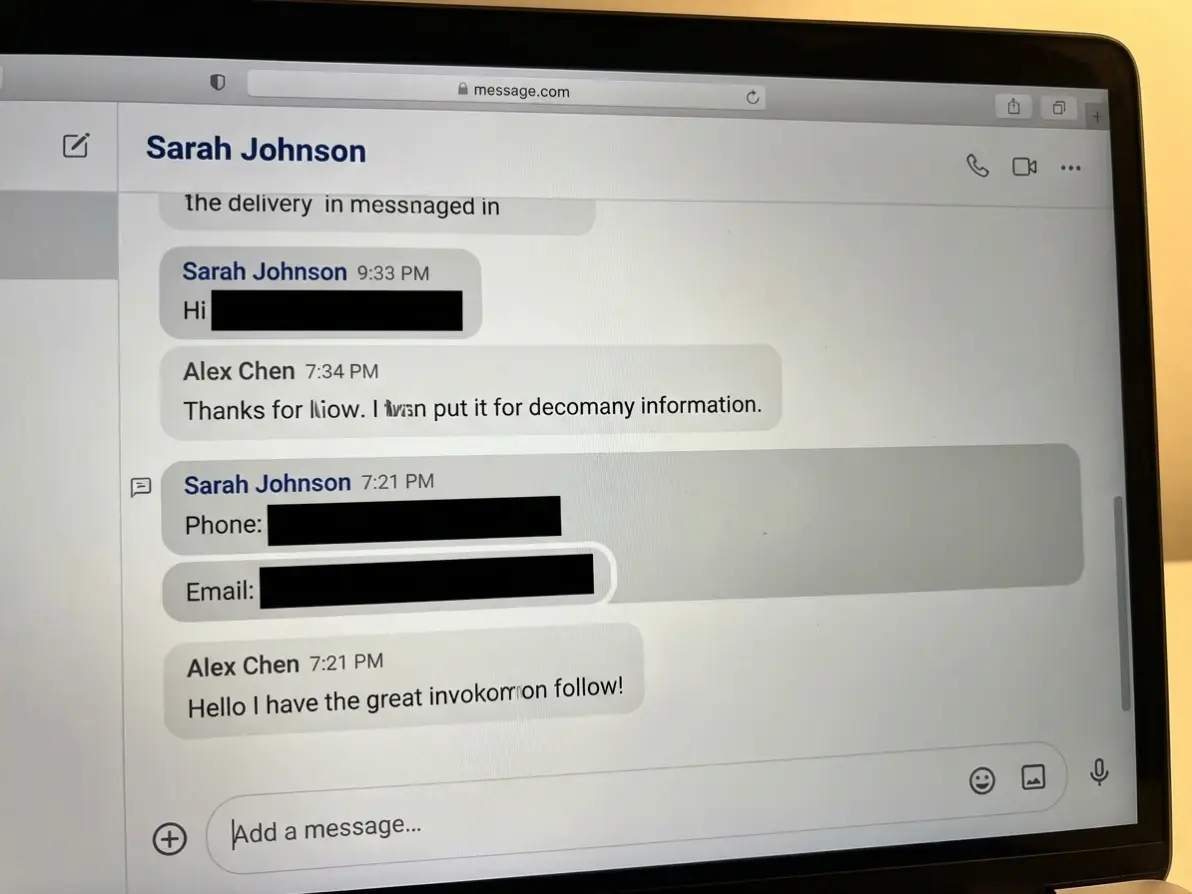
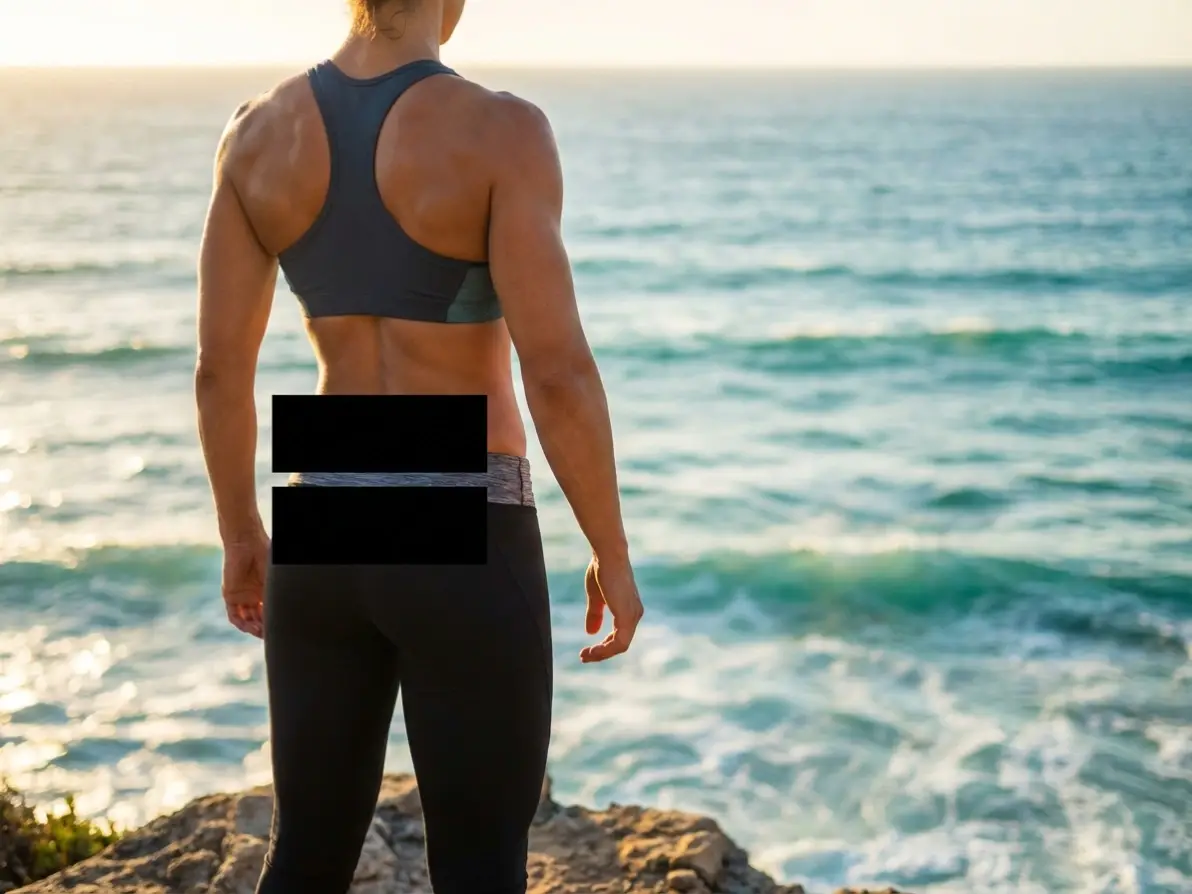
Protect Personal Information with Custom Censor Bars
Safeguard sensitive data like phone numbers, addresses, or faces in screenshots, social media posts, or business documents. Dzine’s censor bar tool lets you add opaque or semi-transparent censorship bars to mask private details while keeping the rest of your image intact. Our AI Image Editor ensures precise targeting so you never accidentally censor non-sensitive areas.
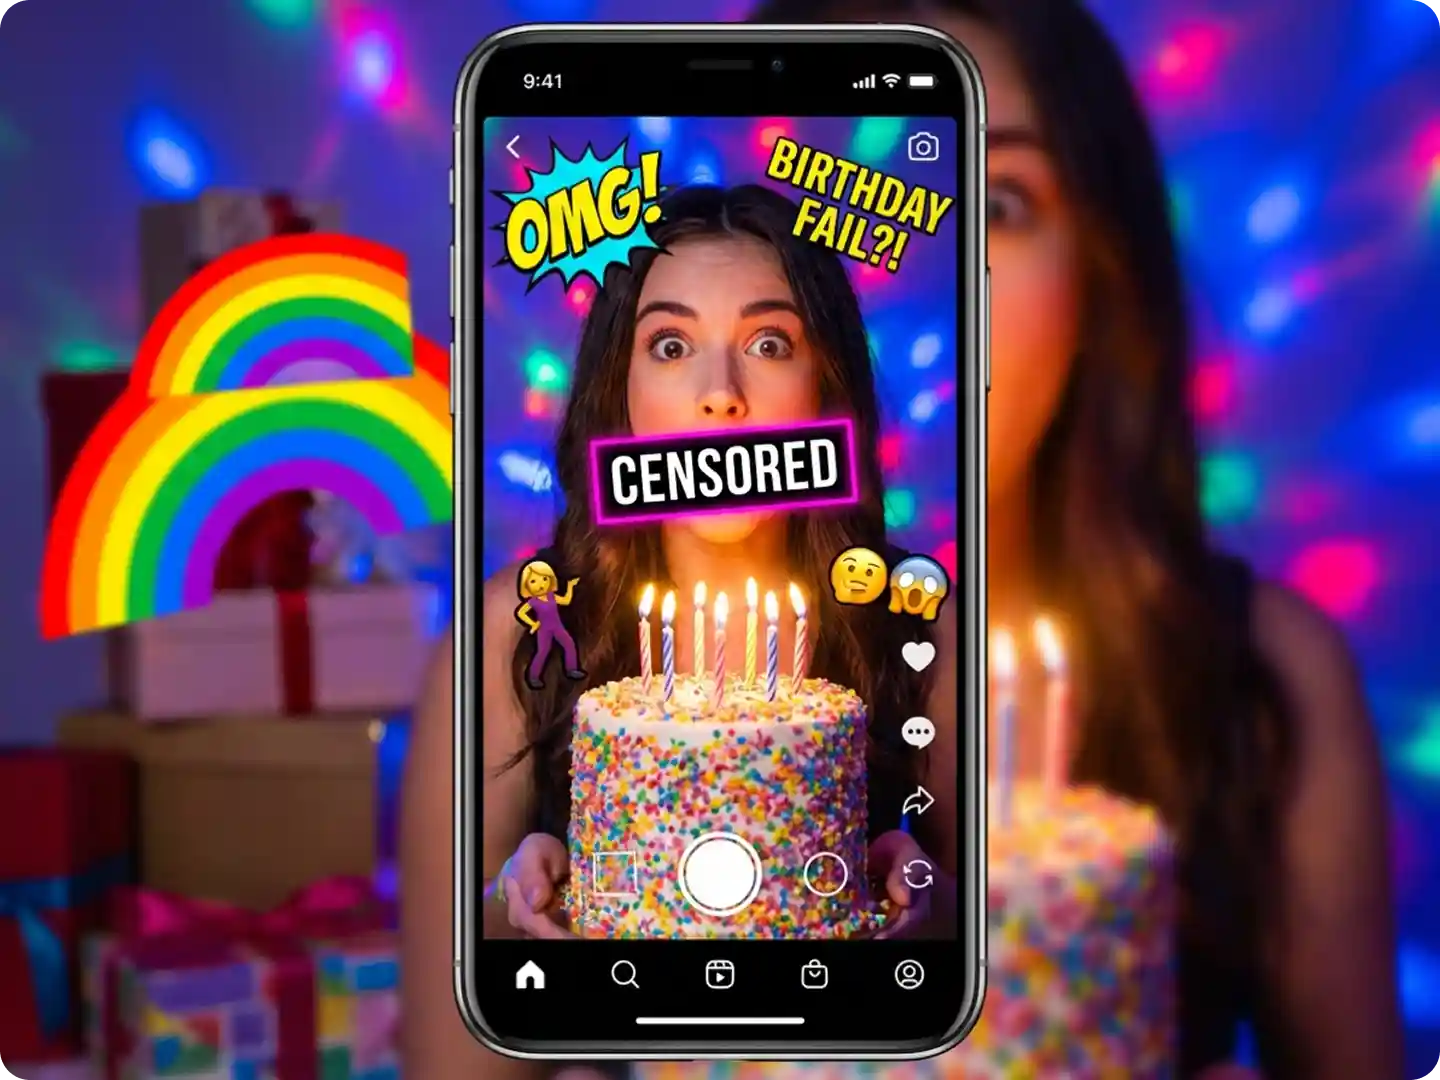
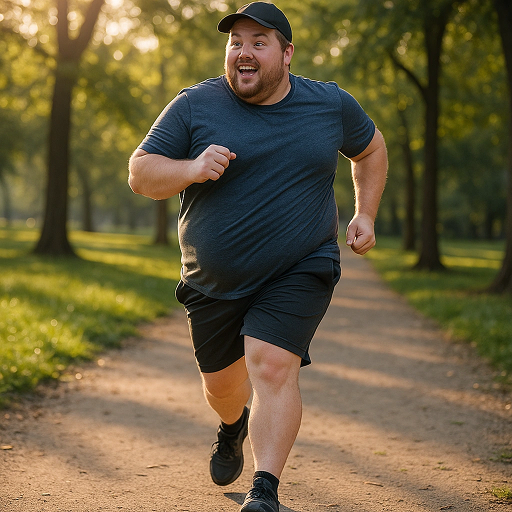
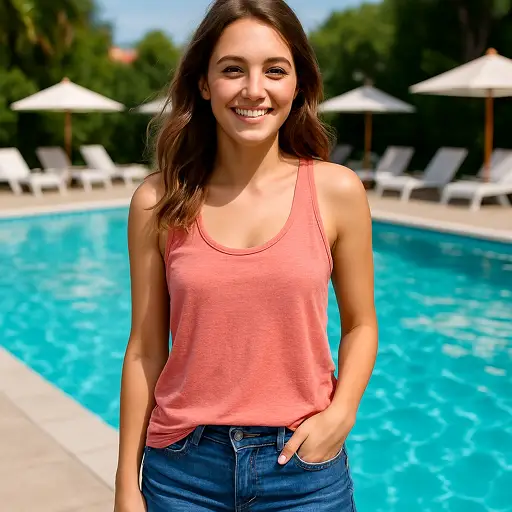
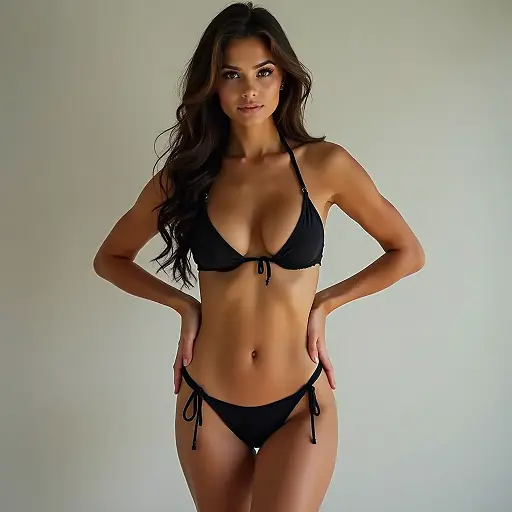
Add Funny Censorship Bars to Memes & Social Content
Elevate your memes, TikTok videos, or Reddit posts with playful censor bars. Customize bar color, size, and opacity to add humor to faces, text, or objects—perfect for viral content. Dzine’s censor bar generator integrates seamlessly with our Meme Maker for end-to-end creative control.
Comply with Content Guidelines Using Censorship Bars
Avoid content removal on Instagram, YouTube, or Facebook by masking inappropriate or copyrighted elements with censor bars. Our tool lets you quickly add bar censor overlays to meet platform rules without compromising your creative vision.
Customize Censor Bar Style for Branded or Professional Use
Tailor censor bars to match your brand’s color scheme or design aesthetic — choose from solid colors, gradients, or blurred effects for a polished look. Ideal for marketers, content creators, or businesses needing branded censor images for presentations or client deliverables. Explore our Favicon Tool to align censor bars with your brand identity.
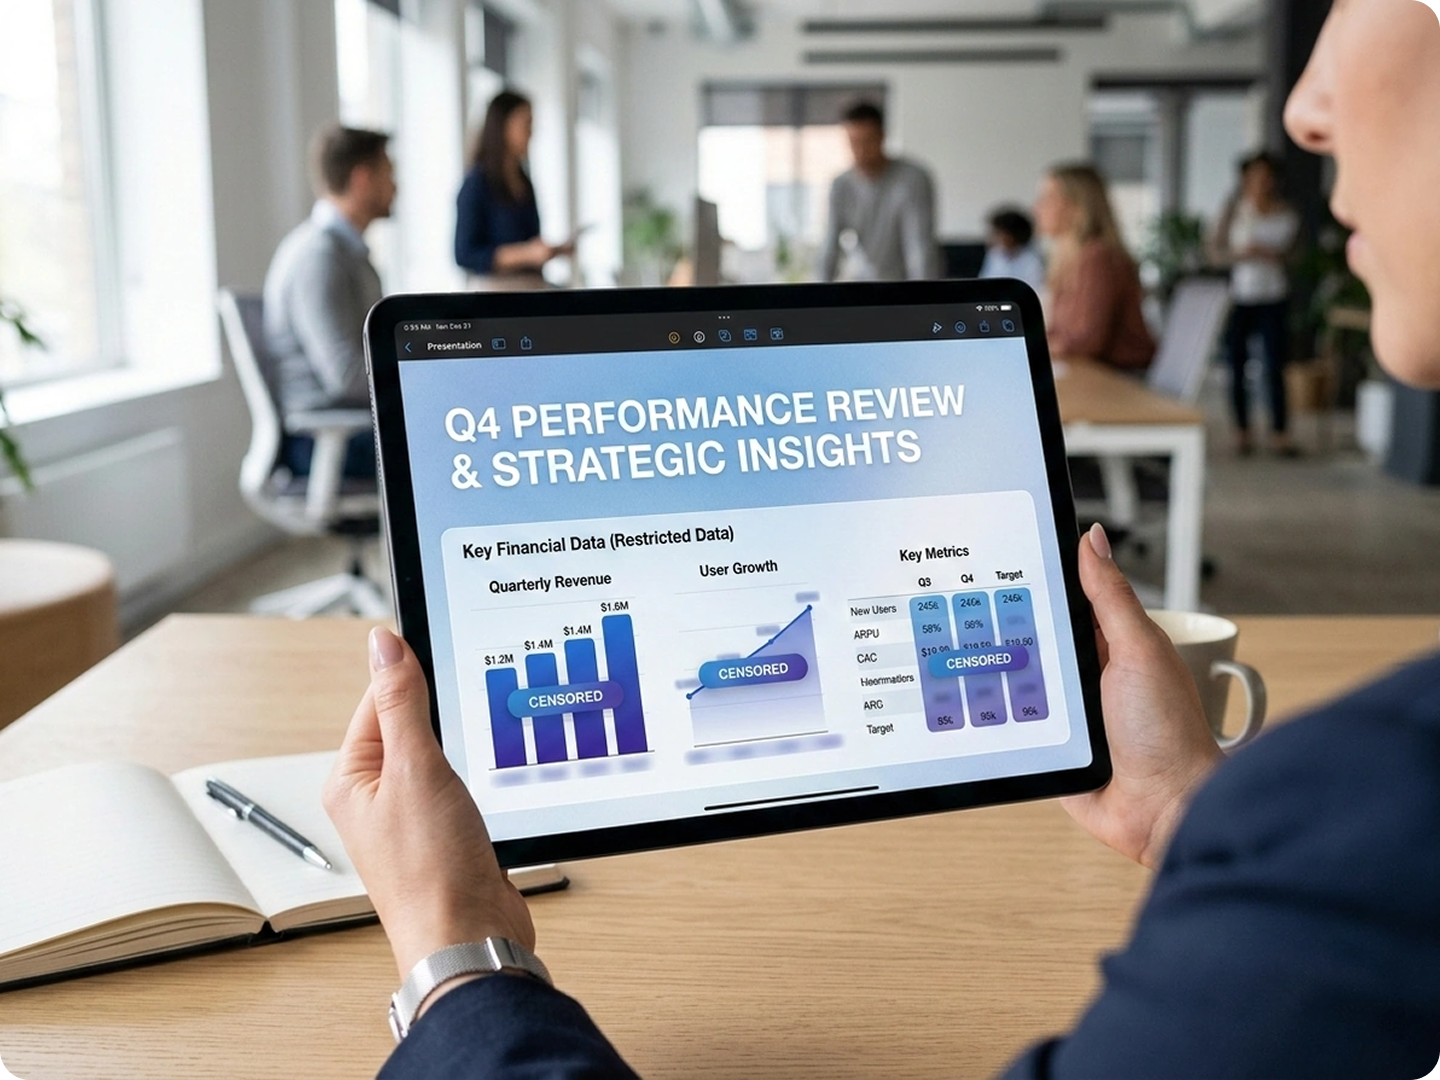
Mask Confidential Details in Product Photos & Marketing Materials
Hide pricing, logos, or prototype details in product photos with precise censor bars. Dzine’s AI ensures clean, edge-perfect censorship overlays that don’t distort the rest of your image—critical for e-commerce brands or agencies sharing pre-launch content.
Explore All Ways to Use Our Censor Bar Generator
Mask Sensitive Data
Add censor bars to personal info, addresses, or contact details in screenshots and shared images.
Try now for free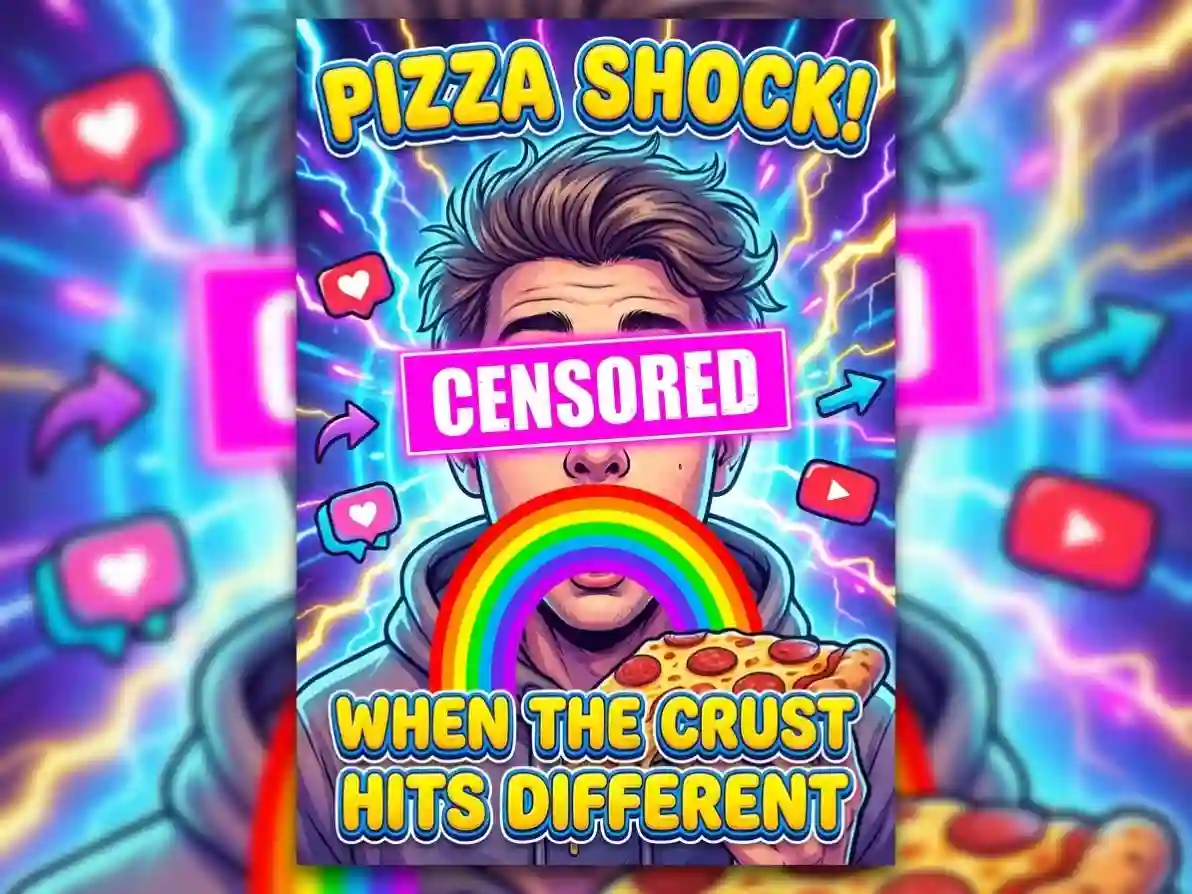
Why Dzine’s Censor Bar Generator Stands Out

Precision Censor Bar Placement
Our AI-powered selector lets you target exact regions to censor—no messy, uneven bars. Perfect for masking small details or large areas with zero errors.

100% Free to Use (No Watermarks)
Generate unlimited censor bar images with basic features—no subscriptions, hidden fees, or watermarks on high-resolution downloads.

Instant Generation (5 Seconds or Less)
Skip manual editing—Dzine AI applies censor bars or censorship overlays in seconds, so you can iterate fast and meet tight deadlines.

Fully Customizable Censor Bar Styles
Adjust color, opacity, size, and effect (solid/blur/gradient) to create censor bars that match your creative or professional needs.

No Design Skills Required
Upload an image, select a region, and type a simple prompt—our AI handles all the hard work, so anyone can create professional censor images.

GDPR-Compliant Data Security
We never store your original images or censor bar creations—your content stays private and secure at all times.
More Dzine Tools to Enhance Your Creation

Master the Art of Image Creation | Dzine AI Tutorial
What Our Users Said
The Easiest Way to Add Censor Bars Without Ruining My Images!
I use Dzine’s Censor Bar Generator to mask client data in screenshots for my social media management business. The precision is incredible—no more messy manual editing, and the results are always professional. It’s saved me hours of work every week!
Sarah M.Social Media Manager & Freelancer
Perfect for Making Hilarious Memes with Censor Bars!
As a Reddit content creator, I need quick, fun censor bars for my memes. Dzine’s tool lets me customize bar color and opacity in seconds, and the free high-res downloads are a game-changer. My posts get way more engagement with these polished censor overlays!
Mike T.Meme Creator & Digital Content Maker
Saved My Business from Content Removal on Instagram!
I run an e-commerce store and use Dzine’s Censor Bar Generator to mask competitor logos in product photos. It’s easy to use, compliant with Instagram’s rules, and integrates perfectly with their Product Photo Editor. I haven’t had a post removed since I started using it!
Lisa K.E-Commerce Brand Owner
FAQ
What is Dzine AI’s Censor Bar Generator?
Dzine AI’s Censor Bar Generator is a free online tool that uses AI to add custom censor bars, censorship overlays, or blurred regions to any image. It lets you mask sensitive content, add comedic effects, or comply with platform guidelines—no design skills required.
Is Dzine’s Censor Bar Generator free to use?
Yes! Dzine offers a free tier with unlimited censor bar generation, high-resolution downloads, and basic customization. Premium plans are available for advanced features like branded censor bars and bulk processing.
Can I customize the look of my censor bar?
Absolutely. You can adjust the color, opacity, size, and effect (solid, blur, gradient) of your censor bar by typing simple prompts. Our AI Image Editor also lets you refine the bar after generation.
What file types does the Censor Bar Generator support?
We support all major image formats, including JPG, PNG, WebP, and TIFF. You can upload images up to 10MB in size for seamless censor bar addition.
Can I use the censor bar images for commercial purposes?
Yes! All images created with Dzine’s Censor Bar Generator are yours to use for personal or commercial purposes, including marketing, social media, and client work—no attribution required.
Does Dzine store my images or censor bar creations?
No. We follow strict GDPR guidelines and never store your original images, edited censor bar images, or any user data. All content is processed locally and deleted after your session ends.